
The POS (Point of Sale) is the main screen for creating new orders. Here you capture customer details, select services, set a delivery date, and create the order in seconds.
What is the POS
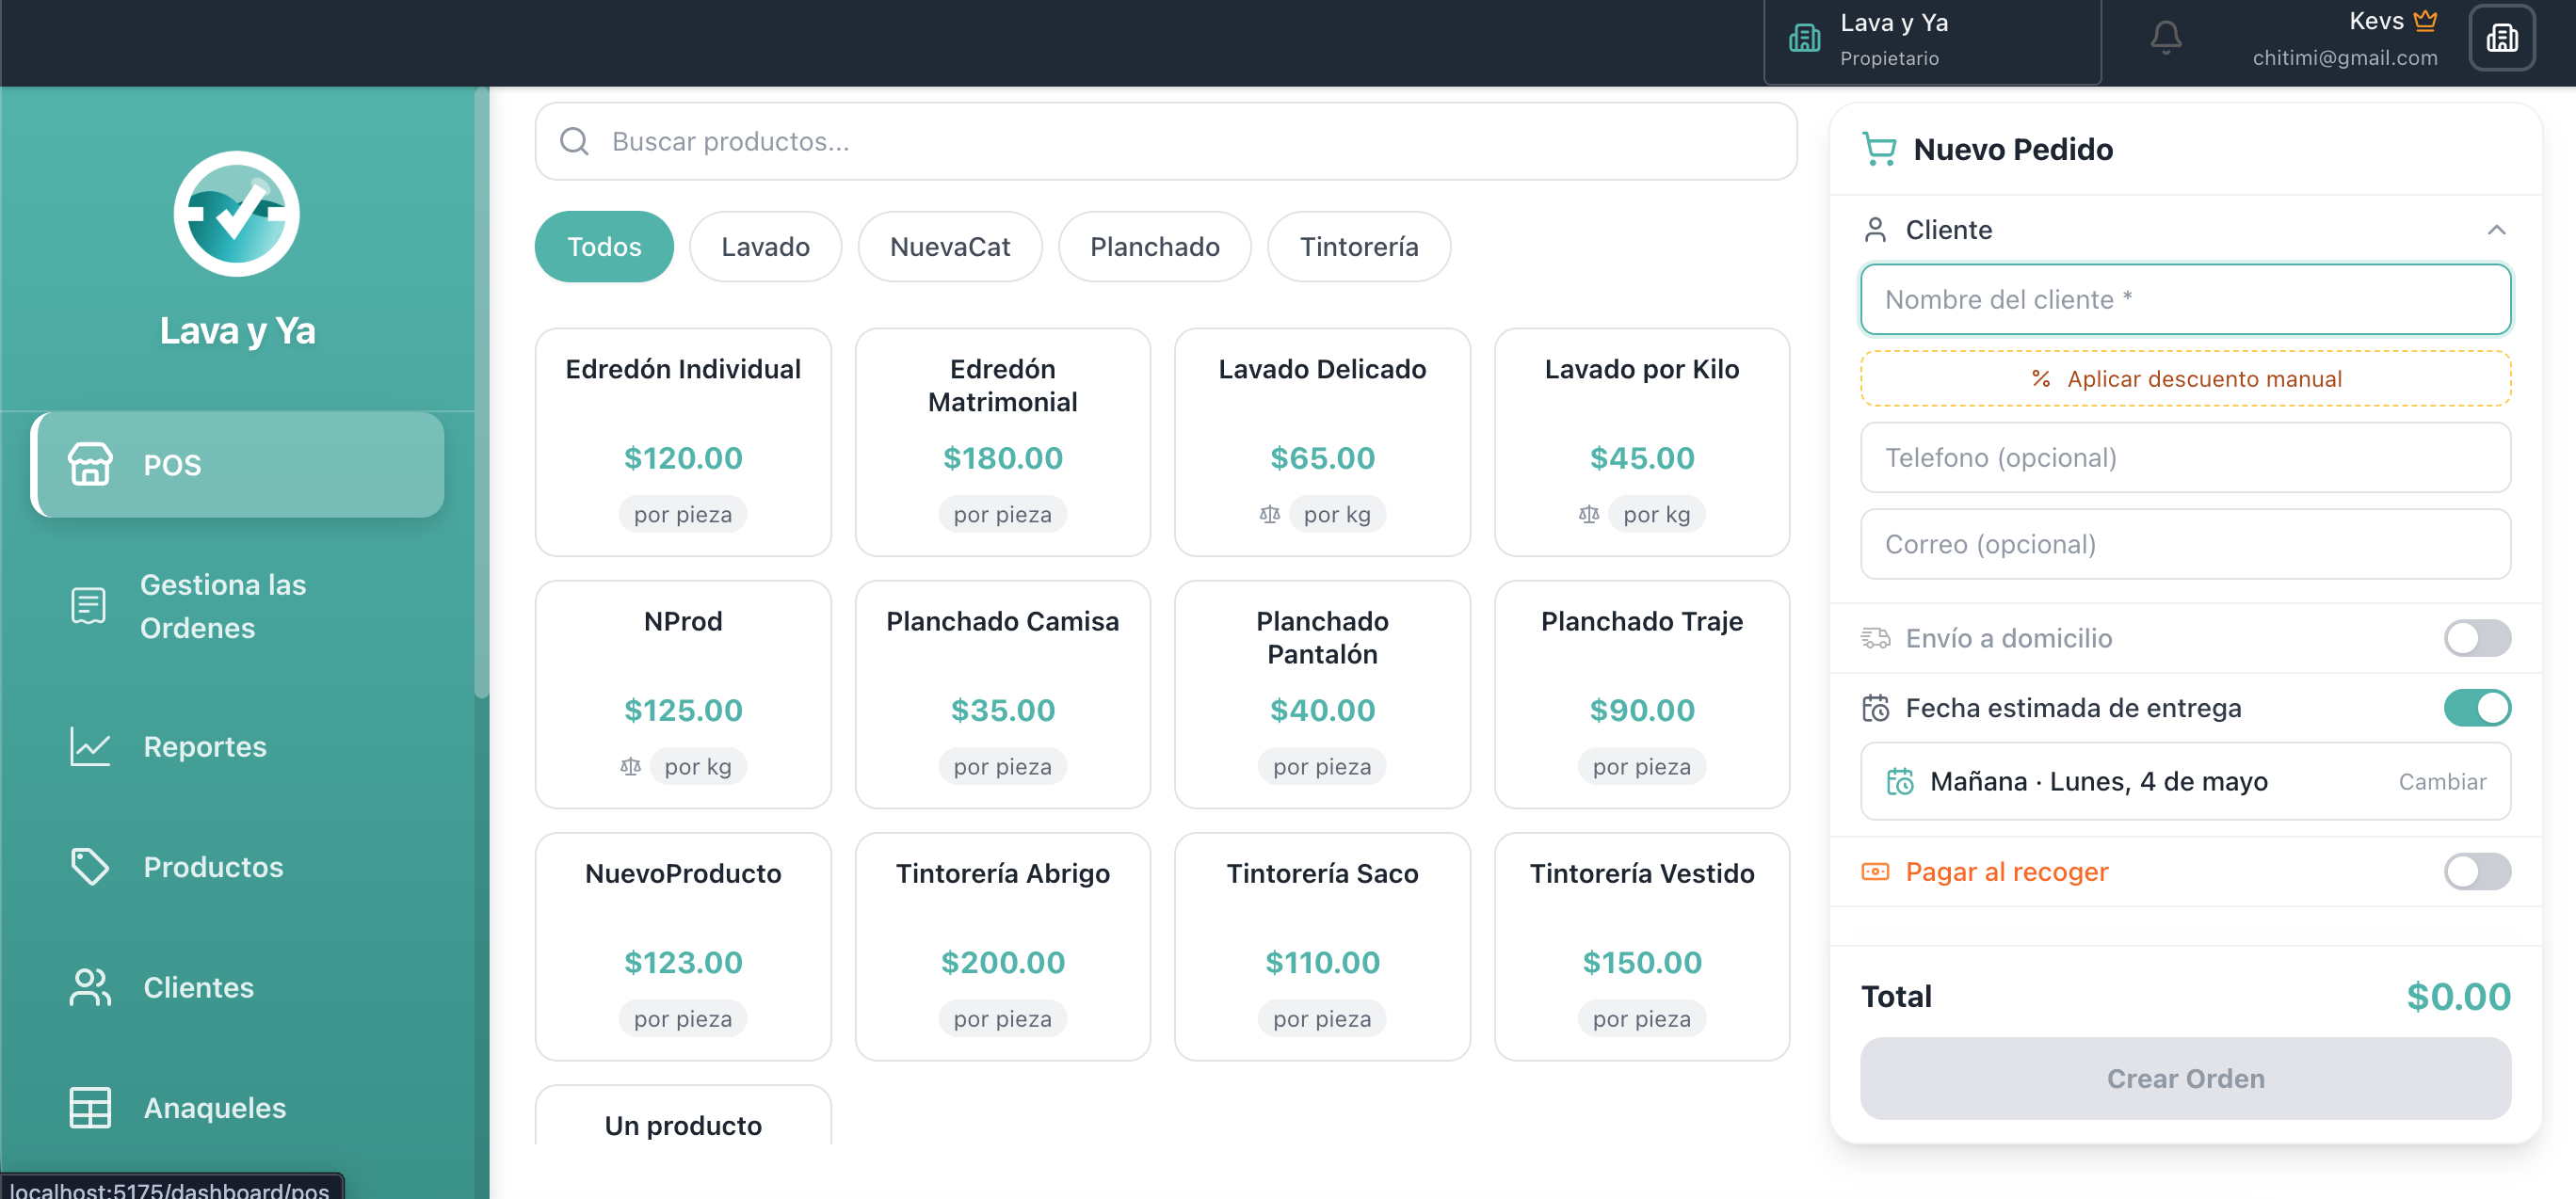
The POS has a two-column layout: on the left side is the order form (customer name, email, phone, delivery date, and payment options); on the right side is the service catalog organized by category, where you can click any product to add it to the order.
Every time you add a service from the catalog, it appears in the order list with its price. The total updates automatically. When everything is ready, one click on "Create Order" registers the order and generates the receipt.
Creating an order step by step
Enter the customer name in the "Customer name" field (required). As you type, the system will search your customer directory and show autocomplete suggestions.
Optionally, enter the customer's email address and phone number. These details are automatically saved to your directory for future orders.
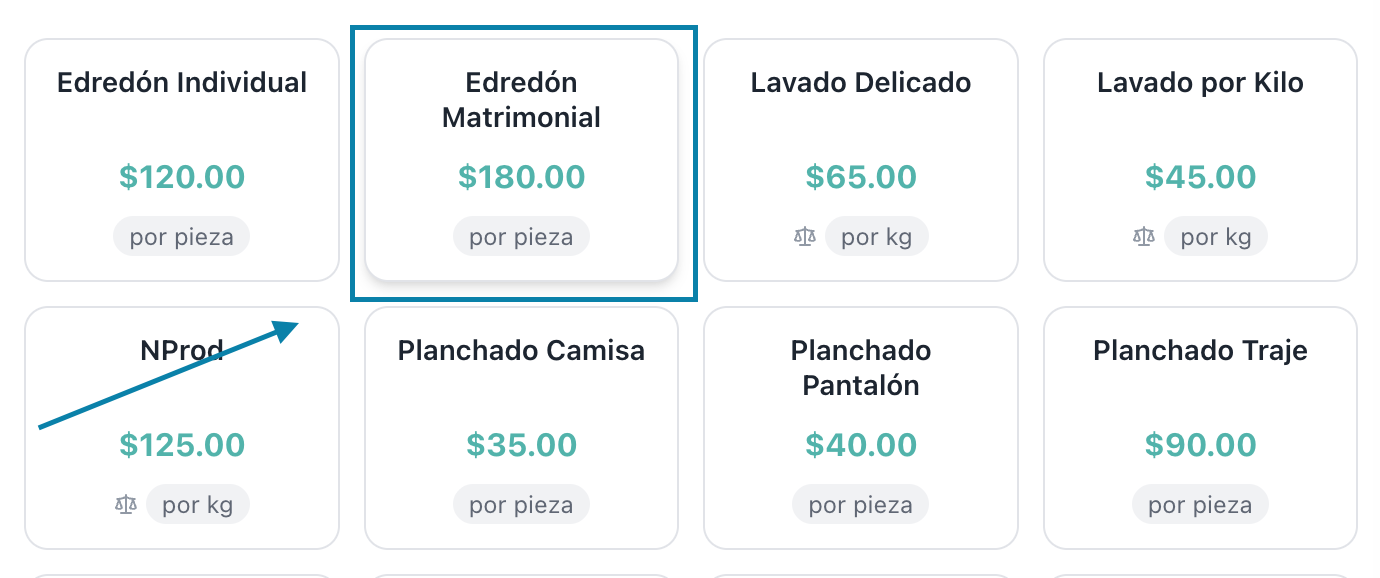
Select services from the catalog on the right side. Click any product to add it to the order. You can adjust quantities using the controls that appear in the list.
Set the delivery date using the date picker (optional but recommended). This tells the team when the customer will pick up their laundry.
Click "Create Order" to register the order. The system will generate the receipt and the order will appear in the Orders section with Pending status.
"Pay on pickup" switch
The "Pay on pickup" switch controls whether the customer paid when dropping off their laundry (upfront) or will pay when picking it up.

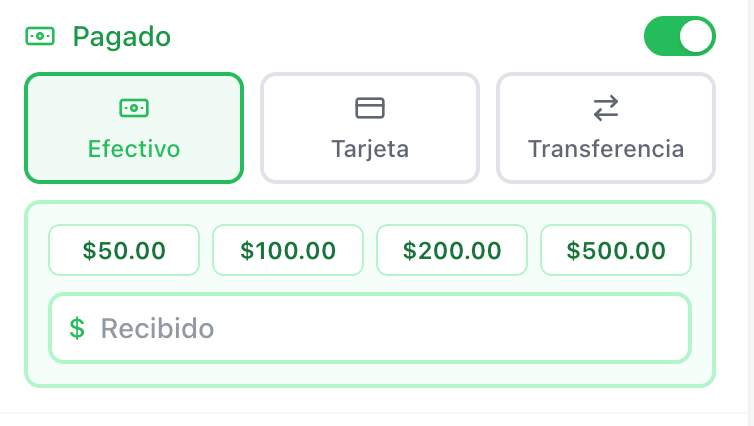
Switch ON (green): the customer already paid at drop-off. The payment method selector appears: Cash, Card, or Transfer. The order is created with estatusPago = PAID.
Switch OFF (grey): the customer will pay on pickup. The order is created with estatusPago = PENDING PAYMENT. When delivering the order, the system will ask you to record the payment.
Automatic customer saving
When you enter the customer name, the POS shows the "Save customer" switch. When it is turned on (green), Lava y Ya saves that customer to your directory when the order is created — including name, phone, and email if you entered them.
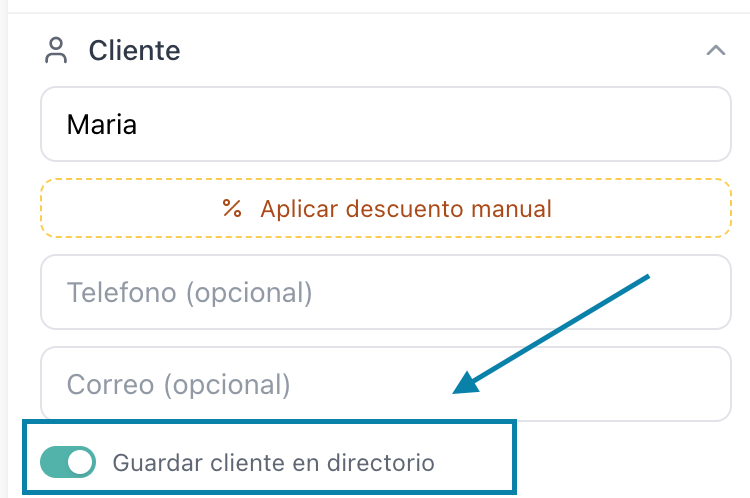
Switch ON: the customer is saved to your directory when the order is created. In future orders they will appear as an autocomplete suggestion.
Switch OFF: the order is created normally but the customer is not added to the directory. Useful for one-time or walk-in customers.
In future orders, as you start typing the customer name, autocomplete suggestions will appear. When you select a customer from the directory, their phone and email are filled in automatically.
Delivery / Customer address
If you offer home delivery service, you can mark it directly from the POS. When you turn on the "Home delivery" toggle, the delivery address field appears.
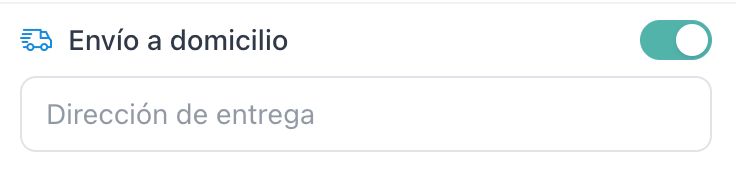
Orders marked as delivery appear in the Shelves section with a special truck icon, telling the team that this order must go out for delivery and is not available for counter pickup.
Frequently asked questions
What if I added the wrong service? You can edit the line items of an order while it is in Pending status. Open the order detail and use the edit button to change quantities or remove items.
Can I create an order without a customer name? No, the customer name is the only required field. All others (email, phone, delivery date) are optional.
Can I customize the service catalog? Yes. Go to the Products section to add, edit, or deactivate services. Changes are reflected immediately in the POS catalog.